Introduction
Are you struggling with excessive noise, echo, or poor sound quality in your room? Whether you’re a musician, content creator, or just looking to improve home acoustics, learning how to make sound absorbing panels is a cost-effective and efficient solution. In this guide, we’ll walk you through the process of building DIY sound absorbing panels to enhance your space.
Why Use Sound Absorbing Panels?
Sound absorbing panels help in reducing echo and improving sound clarity by minimizing sound reflections. They are widely used in home studios, offices, gaming rooms, and home theaters to create an acoustically balanced environment.
Materials Needed
Before you start, gather the following materials:
- Wooden frame (pine or MDF recommended)
- Acoustic insulation (rock wool, Owens Corning 703, or foam)
- Fabric (breathable, such as burlap or polyester)
- Staple gun and staples
- Adhesive spray
- Measuring tape
- Saw
- Screws and screwdriver
- Hanging brackets
Step-by-Step Guide to Making Sound Absorbing Panels
Step 1: Measure and Cut the Frame
- Determine the size of your panels based on your space.
- Cut the wooden frame to your desired dimensions.
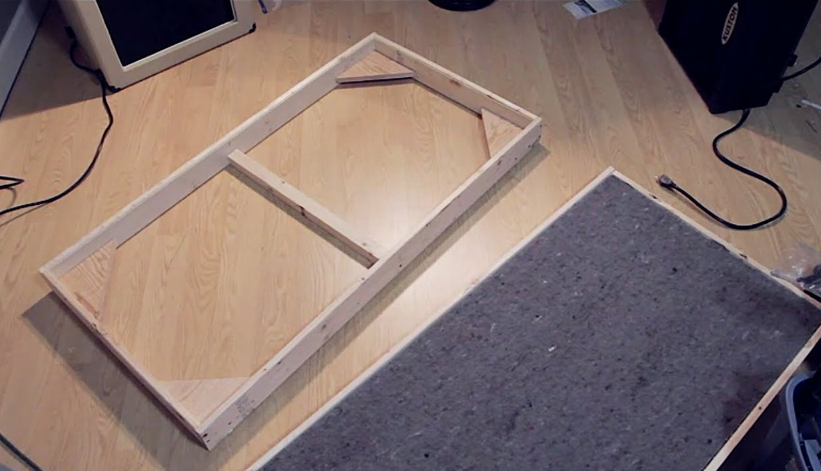
Step 2: Assemble the Frame
- Secure the wood pieces together using screws or nails.
- Ensure the frame is sturdy and well-aligned.
Step 3: Insert Acoustic Insulation
- Cut the insulation to fit inside the frame.
- Use adhesive spray to attach the insulation to the frame.
Step 4: Wrap with Fabric
- Lay the fabric flat and place the frame on top.
- Wrap the fabric around the frame, pulling it tight.
- Secure the fabric using a staple gun.
Step 5: Mount the Panels
- Attach hanging brackets to the back of the panel.
- Mount them on the wall at strategic locations for maximum sound absorption.
Best Locations to Place Sound Absorbing Panels
- Walls: Place panels on walls where sound reflections are strongest.
- Ceiling: Use ceiling-mounted panels for improved acoustics.
- Corners: Bass traps in corners help reduce low-frequency noise.
Additional Tips for Maximum Effectiveness
- Use multiple panels: Covering more surface area enhances sound absorption.
- Experiment with placement: Adjust panel positions to find the best acoustic balance.
- Combine with carpets and curtains: Additional soft surfaces can further dampen noise.
FAQs
1. How effective are DIY sound absorbing panels?
DIY panels can be highly effective when made with quality insulation and properly installed.
2. What is the best material for sound absorption?
Rock wool and Owens Corning 703 are among the best materials for acoustic treatment.
3. Can I use foam instead of insulation?
Foam works but is less effective than rigid insulation boards.
4. How many panels do I need for a small room?
Typically, 4-6 panels are sufficient for a standard-sized room.
5. Do sound absorbing panels block outside noise?
No, they reduce echoes and reverberations but do not completely block external noise.
6. Can I paint the fabric covering the panels?
Painting can reduce fabric breathability, so it’s best to use pre-colored fabric.
Conclusion
Creating your own sound absorbing panels is a practical and cost-effective way to enhance room acoustics. Whether for a home studio, office, or entertainment space, following this guide will help you achieve better sound quality and a more comfortable environment. Start your DIY project today and enjoy the benefits of improved acoustics!

